
TL;DR:
- Proper surface preparation is essential for long-lasting and attractive paint finishes. Skipping steps like cleaning, patching, sanding, caulking, masking, and priming leads to early failure within one to three years. Thoroughly preparing surfaces saves time and ensures a professional, durable result.
Pre-painting preparation steps are the critical actions taken before applying paint that determine how long the finish lasts and how good it looks. Skipping or rushing these steps is the single most common cause of premature paint failure, with failures appearing within 1–3 years on improperly prepped surfaces. Paint does not hide flaws. It highlights them. A clean, solid, and dry surface is the only foundation that delivers lasting color and adhesion. The professional sequence covered here follows a 7-step workflow used by experienced contractors: clear the space, clean, patch, sand, caulk, mask, and prime.
1. Pre-painting preparation steps: clear and protect the work area
Clearing the room is not a formality. It directly affects how efficiently every later step runs and how much damage you avoid.
Move all furniture at least 6 feet from the walls. Cover floors with canvas drop cloths rather than plastic sheeting, since canvas absorbs paint drips instead of letting them slide. Remove outlet covers, switch plates, light fixtures, and any wall-mounted hardware before you touch a brush or roller.
- Move furniture to the center of the room or out entirely
- Cover floors with canvas drop cloths
- Remove outlet covers, switch plates, and hardware
- Tape plastic sheeting over built-in fixtures you cannot remove
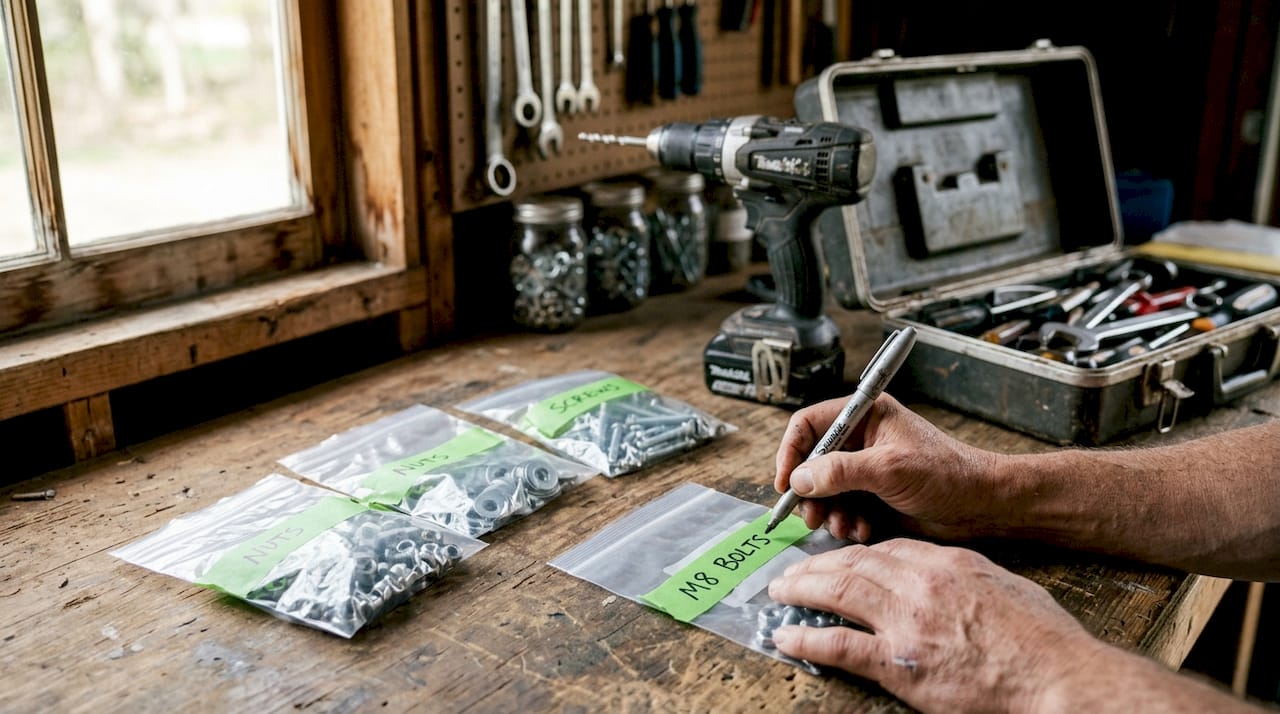
- Place removed screws and hardware in labeled zip-lock bags
Pro Tip: Label each bag of hardware with the fixture name and location. Re-installation takes minutes instead of an hour when every screw is already sorted.
A properly cleared workspace also speeds cleaning and patching because you have unobstructed access to every wall section. Skipping this step creates obstacles that force you to work around furniture, which leads to missed spots and uneven prep.
2. Clean and degrease all surfaces thoroughly
Invisible residue is the most underestimated cause of adhesion failure. Grease, dust, and biological growth all prevent paint from bonding to the substrate.
For interior walls, wash surfaces with a sugar soap solution or a comparable alkaline cleaner. Kitchens require a dedicated degreaser because cooking oils leave a film that causes adhesion failure even after the surface looks clean. For exterior surfaces, use a 1:4 bleach-to-water ratio to kill mold and lichen before power washing.
Drying time after exterior washing is not optional. Exterior surfaces need 24 hours to dry completely after power washing. Painting over damp surfaces causes peeling within 12 months. That single shortcut costs more in rework than the time saved.
- Interior walls: sugar soap or alkaline cleaner, rinsed and dried
- Kitchens: dedicated degreaser applied before washing
- Exterior: 1:4 bleach solution for mold and lichen, then power wash
- Allow full drying before any further prep work
- Use a clean sponge or microfiber cloth to avoid redepositing grime
Interior and exterior prep differ fundamentally. Interior prep focuses on aesthetics and degreasing. Exterior prep centers on moisture control and biological growth removal. Treating them the same way produces poor results on both.
3. Fill and patch all surface defects
Paint applied over holes, cracks, or damaged drywall looks worse than the damage itself. Patching creates the smooth base that makes a painted surface look professional.
Use the right filler for the job. Lightweight spackling compound works for small nail holes. Larger holes and cracks need a setting-type joint compound or a patching kit with mesh backing. Apply filler in thin layers rather than one thick application. Thick fills shrink as they dry, leaving a depression that shows through paint.
- Clean the damaged area and remove loose material
- Apply the first thin layer of filler and let it dry fully
- Apply a second layer if the first layer shrank or cracked
- Sand the patched area with 120-grit sandpaper to level it
- Finish with 220-grit sandpaper for a smooth surface
- Wipe away all dust with a damp cloth before moving on
Products like DryDex spackling change color from pink to white when fully dry, typically within 30–60 minutes for thin applications. That color indicator removes the guesswork on drying time. Professional drywall repair runs approximately $50 per square foot for significant damage, which makes proper DIY patching worth the effort on smaller repairs.
Pro Tip: After sanding, hold a bright light at an oblique angle to the wall. This “torch test” reveals low spots and ridges invisible under normal lighting. Fix them now, not after painting.
4. Sand for adhesion and a flat surface
Sanding serves two purposes: it creates a mechanical profile that paint grips, and it levels any remaining texture differences between patched and original surfaces.
Sanding blocks produce a flatter result than loose sandpaper because they distribute pressure evenly across the surface. Loose sandpaper follows the contours of your hand, which creates uneven pressure and leaves high spots. Use a sanding block for all flat wall sections and switch to a flexible sanding sponge for curved or detailed trim areas.
Sand all patched areas with 120-grit paper first, then finish with 220-grit. Sand any glossy or previously painted surfaces with 120-grit to dull the sheen. Paint bonds poorly to a glossy surface because there is nothing for it to grip. After sanding, wipe every surface with a tack cloth or a damp microfiber cloth to remove all dust before the next step.
5. Caulk all gaps and seams
Caulking seals the gaps between surfaces that paint alone cannot bridge. Unsealed gaps allow moisture infiltration, which causes paint to crack and peel from the edges inward.
Apply paintable latex caulk along the seams between trim and walls, at baseboards, around window frames, and in interior corners. Cut the caulk tube at a 45-degree angle and apply a steady, even bead. Smooth the bead with a wet finger or a caulk tool immediately after application. Let the caulk cure fully before painting. Most latex caulks skin over in 30 minutes but need at least 2 hours before paint contact.
| Location | Caulk type | Notes |
|---|---|---|
| Trim to wall seams | Paintable latex | Smooth before skinning |
| Interior corners | Paintable latex | Apply after priming |
| Window frames (interior) | Paintable latex | Check for existing cracked caulk first |
| Exterior gaps | Siliconized latex | Higher moisture resistance |
| Baseboards | Paintable latex | Wipe excess immediately |
Common mistakes include caulking over dirty or dusty surfaces, applying too thick a bead, and painting before the caulk cures. All three cause the caulk to crack or peel within months.
6. Mask edges and fixtures precisely
Masking protects surfaces you are not painting and creates the clean lines that separate professional work from amateur results. It also speeds the painting process by eliminating the need to cut in slowly around every fixed object.
Select a quality painter’s tape rated for the surface type. Standard blue painter’s tape works on most interior walls. Delicate surface tape is better for fresh paint or wallpaper. Press the tape edge firmly with a putty knife or your fingernail to prevent paint from bleeding underneath.
- Apply tape to trim, baseboards, window frames, and ceiling edges
- Cover large fixed surfaces with plastic sheeting secured by tape
- Press the tape edge firmly to prevent bleeding
- Remove tape within 1 hour of applying the final coat, while paint is still slightly wet
- Pull tape back at a 45-degree angle to avoid lifting dried paint
Removing tape too late is the most common masking mistake. Dried paint bonds the tape to the surface, and pulling it off lifts the fresh coat with it.
7. Prime all bare and patched surfaces
Primer is not optional on bare wood, bare plaster, or patched drywall. Skipping primer on these surfaces causes the finish coat to absorb unevenly, producing a blotchy result called “flashing.”
For bare or new plaster, use a mist coat of diluted paint: 70% paint to 30% water. This seals the porous surface and creates a bonded base. Applying undiluted paint directly to bare plaster causes peeling because the plaster draws moisture out of the paint too quickly for it to bond. For bare wood and heavily patched drywall, use a dedicated primer rather than diluted paint.
Use a stain-blocking primer over water stains, smoke damage, or tannin-rich wood like cedar or redwood. Standard primer will not seal these stains, and they bleed through multiple finish coats. Allow primer to dry completely, typically 2–4 hours for water-based products, before applying the finish coat. Rushing this step undoes every earlier effort. The role of primers in sealing and bonding surfaces is the step that ties the entire preparation sequence together.
Pro Tip: After primer dries, run the torch test again. Primer sometimes reveals surface imperfections that were invisible before. Sand and spot-prime any new issues before applying the finish coat.
Key takeaways
Proper surface preparation, not paint quality, determines how long a paint job lasts and how good it looks.
| Point | Details |
|---|---|
| Prep drives durability | Missed prep steps cause paint failure within 1–3 years on most surfaces. |
| Clean before you coat | Grease, mold, and dust prevent adhesion; degrease interiors and treat exteriors with bleach solution. |
| Patch in thin layers | Multiple thin filler applications prevent shrinkage and cracking that show through paint. |
| Use sanding blocks | Blocks distribute pressure evenly and produce a flatter surface than loose sandpaper. |
| Prime bare surfaces | Bare plaster needs a 70/30 mist coat; bare wood and patches need dedicated primer before finish coats. |
What 20 years of prep work actually teaches you
Most people treat prep as the boring part before the real work starts. That framing is exactly backward. Prep is the real job. Paint application is the reward at the end of it.
The most consistent mistake I see from property owners and first-time contractors is underestimating drying time. They wash a wall, wait 20 minutes, and start patching. The surface looks dry. It is not. Moisture trapped under filler or primer causes failures that show up weeks later, not immediately. Build drying time into your schedule the same way you build in material costs.
The torch test is the single most underused technique in residential and light commercial prep. Holding a bright light at an oblique angle to a wall reveals every ridge, low spot, and missed patch that normal lighting hides. Professionals run this test twice: once after patching and sanding, and once after priming. Skipping it means discovering those flaws after the finish coat goes on, which is a far more expensive fix.
The other thing experience teaches is that prep consumes 40–60% of total project time on a well-run job. If your prep is taking less than that, you are cutting corners somewhere. The time you save in prep, you spend twice over in callbacks, touch-ups, and early repaints.
— Results
Professional surface prep and coating services from Southernsandblastingandpainting
Southernsandblastingandpainting brings over 20 years of surface preparation expertise to commercial, municipal, and industrial projects across Central Florida. The team handles every step of the prep sequence, from contaminant removal and sandblasting to industrial-grade coating application, on assets ranging from water tanks and pipelines to airport infrastructure and city facilities.

For property managers and contractors who need prep done right the first time, Southern Sandblasting and Painting offers professional sandblasting services and full surface preparation workflows built around compliance and durability. Contact the team for a consultation or project quote.
FAQ
What are the most important pre-painting preparation steps?
The seven core steps are clearing the workspace, cleaning and degreasing, patching defects, sanding, caulking gaps, masking edges, and priming bare surfaces. Skipping any step increases the risk of premature paint failure.
How long should surfaces dry before painting?
Exterior surfaces need at least 24 hours to dry after power washing before any paint or primer is applied. Interior surfaces cleaned with liquid cleaners need a minimum of 2–4 hours of drying time.
Do I need primer if I am repainting over existing paint?
Primer is required on bare wood, bare plaster, patched areas, and surfaces with stains. Repainting over sound, existing paint in good condition generally does not require a full prime coat, though spot-priming patches is always necessary.
What is the mist coat technique?
A mist coat is a diluted paint mixture of 70% paint and 30% water applied to bare or new plaster. It seals the porous surface and creates a bonded base that prevents the finish coat from peeling.
When should painter’s tape be removed?
Remove painter’s tape within 1 hour of applying the final paint coat, while the paint is still slightly wet. Waiting until the paint dries fully causes the tape to bond to the surface and lift the finish coat when pulled.


