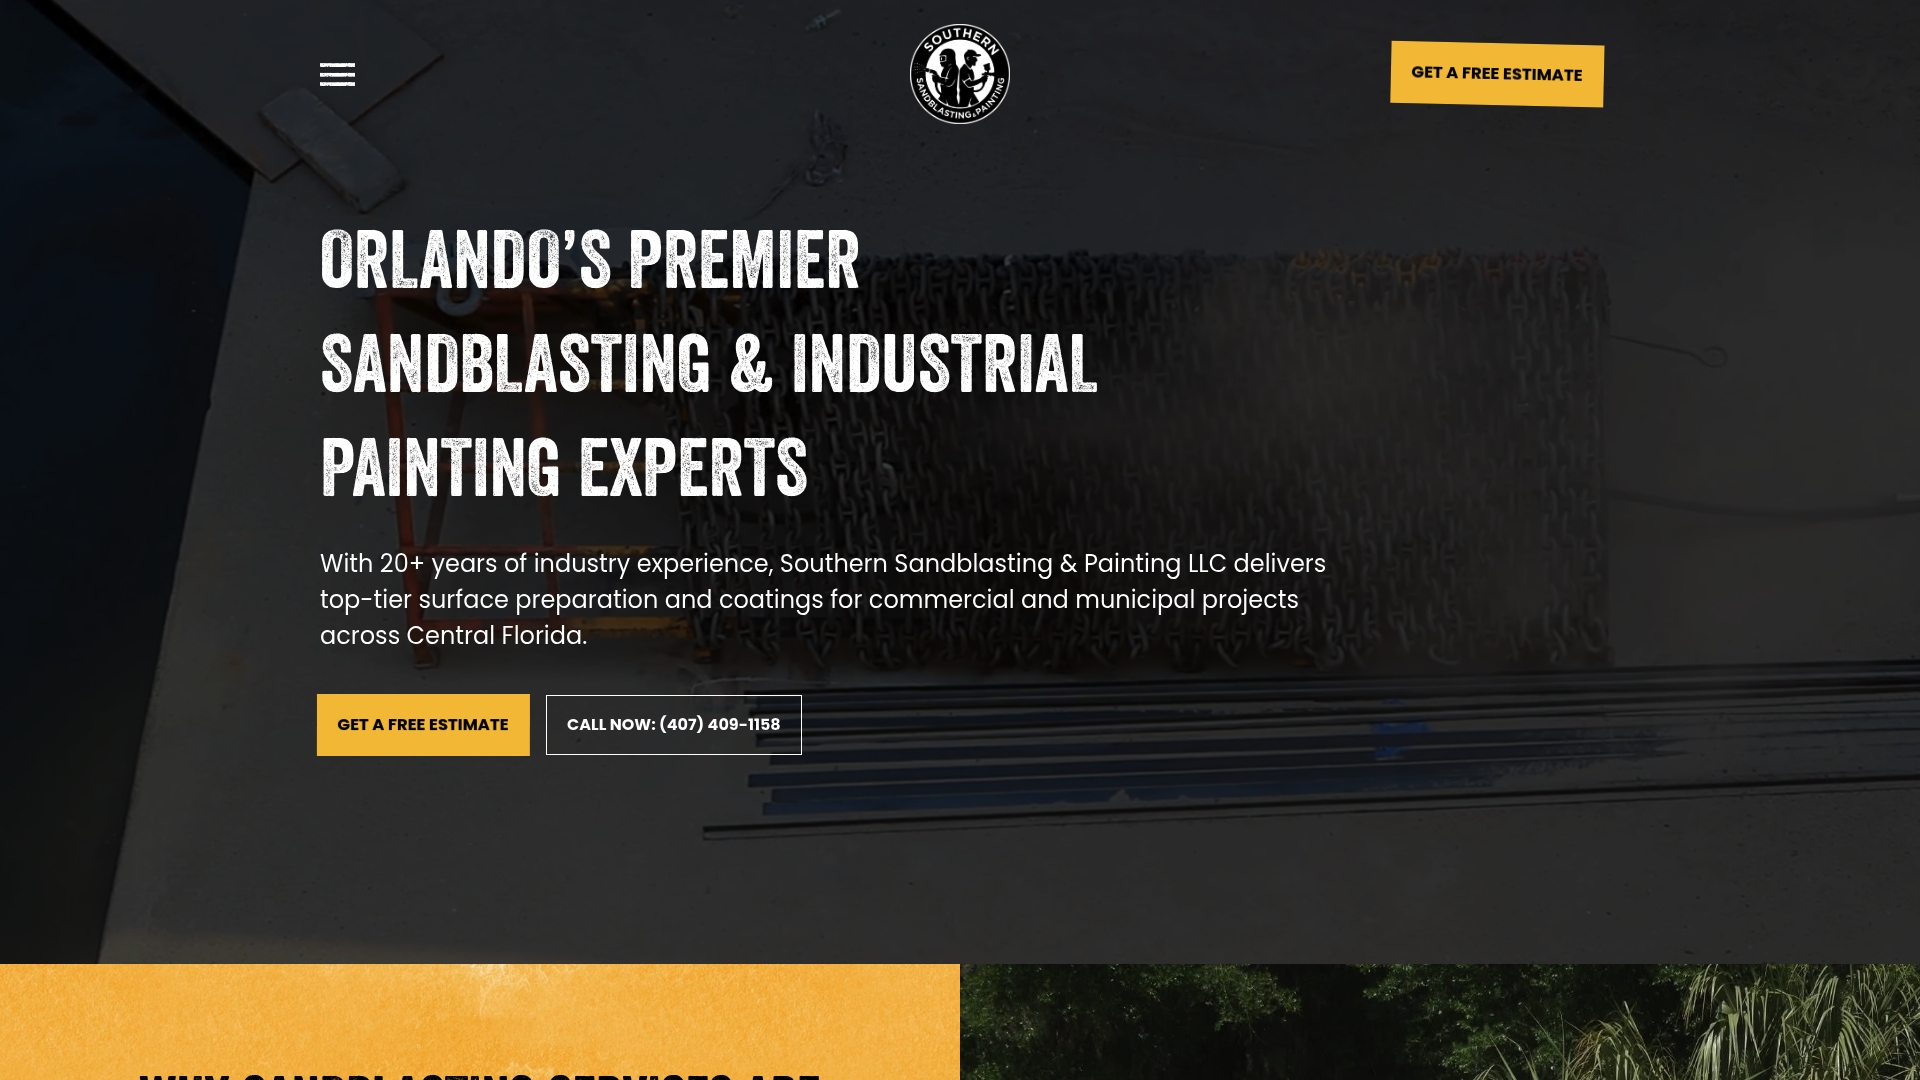
Finding rust creeping along a pipeline or spotting flaking paint on a steel water tank is a reality for every infrastructure manager in Central Florida. These issues threaten the performance and safety of critical assets that your community depends on daily. A thorough condition assessment and targeted restoration plan safeguard your city’s investment, prevent unexpected failures, and support long term asset reliability while working within tight municipal budgets.
Table of Contents
- Step 1: Assess Metal Surface Condition and Project Scope
- Step 2: Prepare Work Area and Safety Procedures
- Step 3: Remove Rust and Contaminants Using Sandblasting
- Step 4: Apply Industrial-Grade Coatings for Protection
- Step 5: Verify Restoration Quality and Longevity
Quick Summary
| Key Point | Explanation |
|---|---|
| 1. Conduct Thorough Visual Inspections | Assess the condition of the metal structure through systematic visual inspections to identify rust, corrosion, and structural damage. |
| 2. Define Clear Project Scope Early | Determine whether the restoration will cover just visible damage or the entire asset to avoid budget surprises and ensure appropriate resource allocation. |
| 3. Prioritize Safety Preparations | Establish a well-defined work area with safety measures, including personal protective equipment, to minimize risks during restoration operations. |
| 4. Document Every Step of the Process | Keep a detailed record of inspections, tests, and application processes, including photos, for quality assurance and future maintenance reference. |
| 5. Verify Quality of Coating Application | Perform thorough inspections and tests to confirm that coatings adhere properly and provide long-term protection against corrosion and deterioration. |
Step 1: Assess Metal Surface Condition and Project Scope
Walking up to a deteriorating steel bridge beam, water tank, or pipeline structure, you need to know exactly what you’re dealing with before committing budget and resources to restoration. This step determines whether you’re looking at minor touch-ups or major rehabilitation. By thoroughly assessing metal surface condition and defining your project scope, you’ll avoid expensive surprises down the road and create a realistic restoration plan that keeps your critical infrastructure running smoothly.
Start with a thorough visual inspection. Walk the entire asset and look for obvious signs of deterioration: rust staining, paint failure, corrosion pitting, and structural damage. Take photographs from multiple angles and document the location of problem areas. Pay attention to environmental factors that accelerate decay in Central Florida’s climate. High humidity, salt spray near coastal regions, and temperature fluctuations create aggressive corrosion conditions that differ significantly from inland sites. Note areas where water collects or pools, as moisture is the primary driver of rust formation. Your visual findings should be recorded systematically, creating a baseline that contractors can reference later.
Beyond what your eyes can see, you need data-driven assessment results. Condition assessments help determine deterioration levels and corrosion risks, guiding your restoration approach. This might include nondestructive testing techniques like ultrasonic thickness measurements, magnetic particle inspection, or coating adhesion tests. These methods reveal hidden damage beneath the surface and quantify how much protective coating remains. Destructive testing, while more invasive, provides definitive material composition and structural integrity data when the stakes are high. The choice of testing method depends on your asset type, budget, and how much information you actually need to make decisions.
Define your project scope by answering specific questions: Are you restoring just the visible corroded areas or addressing the entire structure? Do you need to remove all existing coatings or can you work over certain painted surfaces? What access limitations exist? Is the asset in service during restoration, or can you shut it down completely? These answers determine whether your project takes three weeks or three months, and they dramatically impact cost. A water tank requiring bypass pumping during work costs more than one you can take offline entirely. A bridge deck with active traffic demands weekend-only operations and safety protocols that add expense.
Bring in qualified professionals who understand both the assessment process and your specific infrastructure type. They can interpret visual findings, recommend appropriate testing, and translate test results into actionable restoration strategies. This professional perspective prevents you from over-specifying unnecessary work or under-specifying critical restoration steps that could lead to premature failure.

Pro tip: Document everything with dated photographs and written notes during your initial assessment, then have testing results compiled into a single report you can reference throughout the project and even for future maintenance decisions.
Step 2: Prepare Work Area and Safety Procedures
Before any sandblasting equipment fires up or coating application begins, your work area needs proper preparation and safety measures in place. This step protects your personnel, prevents damage to surrounding assets, and creates conditions where restoration work can proceed efficiently. Getting safety right at the start means fewer work stoppages, reduced liability, and a professional operation that your city leadership will respect.
Start by establishing a controlled work zone around the metal structure you’re restoring. Set up physical barriers using temporary fencing, warning signs, and traffic control devices if the work affects public areas. Your perimeter needs to be large enough to contain sandblasting dust, overspray from coating application, and any falling debris from the asset itself. In Central Florida’s outdoor environment, wind direction matters significantly. Check prevailing winds and position your work area so dust and overspray move away from occupied buildings, parked vehicles, and neighboring properties. On a water tank restoration project, you might need to extend your containment area much further than on a small bridge component because of dust travel distance. Document your work zone setup with photos and notify facility managers, neighboring businesses, and local authorities if required by your project permits.
Personal protective equipment is non-negotiable for everyone entering the work area. Sandblasting operations generate extreme noise, silica dust, and high-velocity particles that cause serious respiratory and hearing damage without proper protection. Workers need OSHA-approved respirators or supplied air systems depending on the type of sandblasting method being used. Hard hats protect against falling objects and accidental contact with equipment. Safety glasses or face shields prevent particulate from reaching eyes. Cut-resistant gloves and steel-toed boots complete the basic ensemble. Chemical-resistant clothing becomes necessary when working with industrial primers, epoxies, or polyurethane coatings that can burn skin on contact. Each worker should understand why each piece of equipment matters rather than simply complying because rules exist.
Prepare your material staging area away from the work zone but within convenient distance. Your sandblasting media, protective coatings, cleaning solvents, and application equipment all need organized storage that keeps them away from moisture and dust contamination. Weather protection matters in Florida’s frequent rain and humidity. Tarps over coating containers prevent water absorption that ruins product quality. Ensure your equipment is tested and ready before personnel arrive. Sandblasting equipment pressure gauges need calibration. Spray application equipment needs cleaned and primed. Portable air compressors should be running without noise or pressure issues. This preparation prevents delays where workers stand idle while equipment gets troubleshot.
Establish clear communication protocols and emergency procedures. Designate a safety officer who monitors conditions throughout the workday. Create hand signals or radio communication so that equipment operators understand when observers spot hazards. Maintain a first aid kit on site and ensure at least one person has current first aid certification. Know where the nearest medical facility is located. If your project involves work at heights on tall structures, fall protection systems and rescue procedures become mandatory. Document all safety measures in a written safety plan that workers review before starting. This creates accountability and demonstrates to oversight agencies that safety wasn’t an afterthought.
Pro tip: Conduct a brief tailgate safety meeting each morning before work begins, reviewing the day’s specific hazards and reminding workers of their roles in maintaining a safe environment.
Step 3: Remove Rust and Contaminants Using Sandblasting
Sandblasting is the most effective method for stripping rust, old paint, mill scale, and stubborn contaminants from metal surfaces before restoration begins. This aggressive cleaning approach removes decades of buildup and reveals the bare metal underneath, giving your protective coatings a clean surface to bond with. When done properly, sandblasting transforms a corroded, unpaintable structure into one ready for industrial grade coatings that will extend your asset’s life by decades.
Choose your sandblasting media based on the metal type, surface condition, and environmental concerns. Steel infrastructure typically uses silica sand, garnet, or steel shot depending on how aggressively you need to clean. Silica sand is affordable and effective for heavy rust removal, but its silica dust creates significant respiratory hazards that require expensive supplied air systems for workers. Garnet media provides cleaner removal with less respirable silica dust, making it safer for crews but more expensive per ton. Steel shot works well for removing paint and mill scale from structural steel and can be recycled multiple times, reducing overall material costs on large projects. Softer media like walnut shell or plastic pellets work for aluminum or delicate surfaces where you need cleaning without substrate damage.
Here’s a quick reference comparing sandblasting media for metal restoration:
| Media Type | Effectiveness for Steel | Safety Considerations | Cost Impact |
|---|---|---|---|
| Silica Sand | Excellent for heavy rust | High silica dust hazard | Low cost, more PPE needed |
| Garnet | Good cleaning, less dust | Lower respiratory hazard | Higher cost per ton |
| Steel Shot | Best for paint/mill scale | Reusable, lower dust | Medium cost, recyclable |
| Walnut Shell | Suitable for aluminum | Minimal dust, gentle process | Higher cost, less abrasive |
The blasting pressure and nozzle selection control how fast material removes. Higher pressures strip surface contaminants faster but can damage thin metal or create surface roughness that’s too aggressive for some coating applications. Most industrial restoration work uses pressures between 80 and 120 PSI with nozzle sizes matched to your equipment’s air capacity. Too small a nozzle creates excessive back pressure and reduces efficiency. Too large a nozzle delivers insufficient force for effective cleaning. Your sandblasting contractor should adjust these parameters based on real time observation of how quickly material is removing and whether the surface finish meets your specifications. The goal is clean, visible bare metal without blast damage that undermines coating adhesion. Surface preparation determines how well protective coatings perform and directly impacts how long your restoration investment lasts.
Monitor dust generation and containment throughout blasting. Even with barriers in place, fine dust particles escape and travel further than you expect in Florida’s humidity and air currents. Water suppression systems help control dust by slightly moistening the blast stream and surrounding area. This works particularly well in Central Florida’s climate where air naturally contains moisture. Be aware that adding water changes how sandblasting media behaves and may require adjusting your blasting technique. The operator needs clear sight lines to the work surface despite dust clouds. A safety observer positioned away from the blast should watch for hazards like unexpected metal failure, equipment malfunction, or people approaching the containment area.
Inspect the cleaned surface carefully before coating application begins. The metal should appear uniformly light colored or bright, free of rust stains and old paint remnants. If you see rust beginning to form immediately after blasting, the surface has been exposed to moisture too long. In Florida’s humidity, you may need to apply primer within hours of sandblasting completion. Some contractors use temporary rust inhibiting solutions to buy time between blasting and coating if weather delays work. Photograph the cleaned surface as documentation that your contractor achieved the required cleanliness standard.

Pro tip: Capture video of the sandblasting process as documentation of the work performed, showing the progression from rusted surface to clean bare metal, which protects you if coating performance issues arise later.
Step 4: Apply Industrial-Grade Coatings for Protection
With your metal surface cleaned and prepared, the coating application phase transforms bare steel into a protected asset that resists rust, corrosion, and environmental damage for decades. This step is where your restoration investment truly pays off. The right coating system applied correctly creates a barrier between your metal and Florida’s harsh climate, preventing the deterioration cycle from restarting.
Start by selecting the appropriate coating system for your specific asset type and environmental exposure. Epoxy primers provide excellent adhesion to freshly blasted surfaces and offer moderate corrosion protection. Two part epoxies require careful mixing and have limited pot life, usually 4 to 8 hours depending on temperature. Polyurethane topcoats deliver outstanding UV resistance and color retention, critical for visible infrastructure where appearance matters alongside durability. Polyester coatings offer good chemical resistance for assets near water treatment facilities or industrial areas. Your choice depends on whether your asset faces salt spray exposure near coastal regions, freshwater immersion in tanks and pipes, or primarily atmospheric conditions. Industrial coatings for Florida infrastructure must withstand humidity, salt air, and temperature swings that accelerate failure of inadequate coating systems.
Here’s a summary of key coating types for Florida infrastructure:
| Coating Type | Protective Strength | Typical Application Areas | Weather Resistance |
|---|---|---|---|
| Epoxy Primer | Moderate corrosion | Steel beams, pipelines | Good in humid environments |
| Polyurethane | UV/color retention | Visible structures (bridges, tanks) | Excellent against sunlight |
| Polyester | Chemical resistance | Water treatment, industrial zones | Good with chemicals |
Prepare your coating materials according to manufacturer specifications. Two part systems require precise mixing ratios, typically by volume or weight depending on the product. Poor mixing leaves unmixed resin pockets that never cure properly, creating weak spots in your coating. Use clean mixing containers and stir thoroughly for the time specified, usually 3 to 5 minutes. Temperature matters significantly in Florida. Cool mornings allow longer pot life and better flow characteristics. Hot afternoons reduce working time and increase evaporation that can thin your coating and create application defects. Plan your coating schedule around weather windows. Check humidity forecasts because most industrial coatings require humidity below 85 percent and surface temperature at least 3 degrees above dew point to cure properly. Applying coatings during high humidity or when moisture will condense on the surface creates adhesion failures and soft coatings that never harden.
Apply primer in thin, even coats using spray equipment appropriate for your coating viscosity. Airless spraying works well for epoxies and polyurethanes, delivering coatings quickly with minimal overspray compared to air assisted spraying. Your spray operator needs experience with pressure settings and spray patterns. Too much pressure creates excessive atomization and overspray waste. Too little pressure delivers thick coats that sag and run before curing. Multiple thin coats build protection better than single heavy coats. Allow proper drying time between coats, usually 4 to 8 hours for epoxy primers depending on temperature. Your coating manufacturer specifies recoat windows. Applying topcoat too early traps solvents that escape later, creating bubbling and coating failure. Waiting too long between coats requires surface preparation to restore adhesion.
Inspect coating thickness during application using a wet film thickness gauge. Industrial specifications typically require 25 to 50 mils of dry film thickness depending on the coating system and corrosion environment. Wet film thickness runs about 1.5 times higher than dry film because solvents evaporate during curing. Once primer cures, apply topcoat in the same systematic way. Polyurethane topcoats often cure in 24 to 48 hours and achieve full hardness in 7 days. Until topcoat hardens completely, protect the coated surface from rain, dust, and physical contact. Temporary coverings over large assets like water tanks prevent weather damage during the curing window.
Document all coating application with batch numbers, application dates, surface temperatures, humidity levels, and film thickness readings. This documentation protects your city if coating performance issues emerge later. Photograph the finished work showing the restored asset in its final condition. The completed restoration should show uniform color, smooth appearance, and complete coverage with no bare spots or thin areas visible.
Pro tip: Apply a clear topcoat or additional sealer layer over your final topcoat on highly visible infrastructure, which provides extra UV protection and extends gloss retention by several years while making cleaning and maintenance easier.
Step 5: Verify Restoration Quality and Longevity
Your metal restoration work is complete, but verifying that quality meets specifications and will deliver the longevity you paid for is crucial before you sign off on the project. This step confirms that coatings adhere properly, surface preparation was thorough, and your protective system will actually protect your infrastructure for the decades ahead. Without verification, you risk discovering coating failures months or years later when problems emerge under service conditions.
Begin with visual inspection of the entire restored surface. Walk the asset systematically and look for obvious defects: bare spots, thin areas, sags, runs, or incomplete coverage. Take photographs in consistent lighting conditions so you can reference them later if questions arise. Look for areas where edges or corners received less coating than main surfaces, a common problem even on well executed projects. Check that coating color is uniform and consistent across the entire asset. Sheen should be consistent if you specified a particular finish. Any glossy patches surrounded by duller areas indicate uneven application or incomplete topcoat coverage. Don’t rely on casual observation alone. Hire a qualified inspector to perform formal quality assessments using standardized testing methods.
Coating thickness measurement is the most fundamental verification tool. Use an electronic dry film thickness gauge to measure coating thickness at multiple locations across the asset, including edges, high points, and areas that are typically harder to coat. Most industrial coatings require 25 to 50 mils of dry film thickness, but your specific project specifications might differ. Take readings in a grid pattern so you document thickness uniformly across the surface. Any measurement below specification indicates inadequate coverage that won’t provide the intended protection. Areas significantly above specification suggest improper application technique or excessive coating that might crack or peel as it ages. Quality assurance in coating application requires systematic inspection and adhesion testing to ensure coating performance meets industry standards and protects your investment.
Adhesion testing reveals whether coatings bonded properly to the substrate. Cross hatch adhesion tests involve cutting a grid pattern into the coating down to the bare metal, then applying tape and pulling sharply to see if coating flakes away. If coating pulls off in large sections, adhesion failed and the coating will eventually fail in service. Pull off adhesion testing uses a specialized dolly glued to the coating surface. The dolly is pulled perpendicular to the surface with increasing force until coating separates. The force required indicates adhesion strength. Adhesion failures typically stem from inadequate surface preparation, contamination on the steel before coating, or incompatible coating systems where primer and topcoat don’t bond properly.
Establish a maintenance plan that extends your restoration investment. Document when the restoration was completed and what coating system was applied. Schedule periodic inspections, typically annually for assets in harsh environments like waterfront locations and every 2 to 3 years for less exposed infrastructure. During inspections, look for early signs of deterioration like chalking, discoloration, or coating breakdown that signals the protection is diminishing. Cleaning removes salt residue and atmospheric contaminants that accelerate deterioration. Gentle washing with low pressure water and mild detergent keeps coatings cleaner and extends their service life. Plan for touch up painting in areas showing minor damage before problems expand into larger failures.
Obtain final documentation from your restoration contractor including coating manufacturer data sheets, application records with dates and temperatures, film thickness measurements, and inspection reports. Store this documentation with your asset maintenance records. Years from now when maintenance decisions arise, these records help you understand what was installed and make informed decisions about future work. They also provide proof of proper restoration if coating issues emerge that require contractor warranty claims.
Pro tip: Take high resolution photographs of your restored asset from multiple angles immediately after project completion as a baseline, then compare future photos to spot any deterioration early when small touch ups prevent major failures.
Extend the Life of Your Infrastructure with Expert Metal Surface Restoration
If your infrastructure is showing signs of rust, corrosion, or paint failure, it is crucial to address these issues with professional surface preparation and protective coatings. The challenge lies in removing contaminants safely and effectively while applying durable coatings that withstand Central Florida’s harsh environment. Key steps like thorough sandblasting and industrial-grade painting determine how long your assets remain functional under high humidity and salt exposure.
At Southern Sandblasting & Painting LLC, we specialize in delivering comprehensive solutions tailored to your infrastructure needs. Our expertise in sandblasting removes decades of rust and old coatings, preparing surfaces for optimal adhesion. Then our high-quality industrial painting protects your metal with proven, weather-resistant coatings. Backed by over 20 years of experience and strict safety standards, we are your trusted partner for restoring bridges, pipelines, water tanks, and more.
Don’t risk costly failures or shortened asset life due to inadequate restoration steps. Visit Southern Sandblasting & Painting LLC today to learn how our skilled team can help you assess, prepare, and protect your infrastructure. Contact us now to secure your project timeline and ensure long-lasting results in Florida’s demanding climate.
Frequently Asked Questions
What steps are involved in assessing the metal surface condition before restoration?
To assess the metal surface condition, start with a thorough visual inspection to identify signs of deterioration like rust or paint failure. Document your findings systematically with photographs and notes to create a baseline for any restoration work.
How does the climate affect metal surface restoration processes?
Climate conditions, such as humidity and temperature fluctuations, can significantly influence corrosion rates and the efficacy of coatings. In humid areas, it’s essential to apply protective coatings quickly after cleaning to prevent rust formation within hours of exposure.
What type of sandblasting media should I choose for different metal surfaces?
Choose your sandblasting media based on the metal type and the condition of the surface. For example, use silica sand for heavy rust removal, and consider garnet for cleaner removal with less respiratory hazard, optimizing safety and effectiveness.
How do I ensure proper coating application after sandblasting?
To ensure proper coating application, apply the primer and topcoat in thin, even layers while monitoring temperature and humidity conditions. Allow adequate drying time between coats, typically 4 to 8 hours, to achieve the best results and ensure long-lasting protection.
What methods can I use to verify the quality of the restoration work?
Verify the quality of restoration by conducting visual inspections and measuring coating thickness with a gauge. Document any defects such as thin areas or sags to address them promptly, ensuring the restored asset meets the specified protective standards.
How often should I schedule maintenance checks for restored metal surfaces?
Schedule maintenance checks for restored metal surfaces at least once a year, especially in harsh environments. This regular inspection helps detect early signs of deterioration, allowing for timely touch-ups that can extend the life of your restoration investment.


