
What are common industrial paint failures and why do they matter?
Industrial coating failures are defects that reduce a protective coating’s ability to shield a substrate from corrosion, moisture, and mechanical damage. They range from cosmetic surface blemishes to full delamination that exposes steel to the elements. The consequences go well beyond aesthetics: failed coatings accelerate corrosion, shorten asset lifespan, and drive up maintenance budgets on infrastructure that was built to last decades.
The most common industrial paint failures fall into a handful of recognizable categories:
- Fisheyes and pinholes: Small craters or holes in the cured film
- Curtains (runs and sags): Thick drips or sheets of paint that flow downward before curing
- Orange peel: A textured, dimpled surface resembling citrus skin
- Alligatoring: A patterned network of cracks that mimics reptile scales
- Wrinkling: Ridges or folds in the film caused by uneven cure rates
- Peeling: Loss of adhesion between the coating and the substrate or between coat layers
- Blistering and bubbles: Raised domes caused by trapped vapor, moisture, or solvent beneath the film
Two root causes dominate the field. 75%–80% of premature coating failures trace back to deficient surface preparation or incorrect application. Environmental conditions during application and cure account for a large share of the remainder. Understanding these failure modes is the first step toward preventing them, and prevention is always cheaper than remediation.
How to identify each type of industrial coating defect
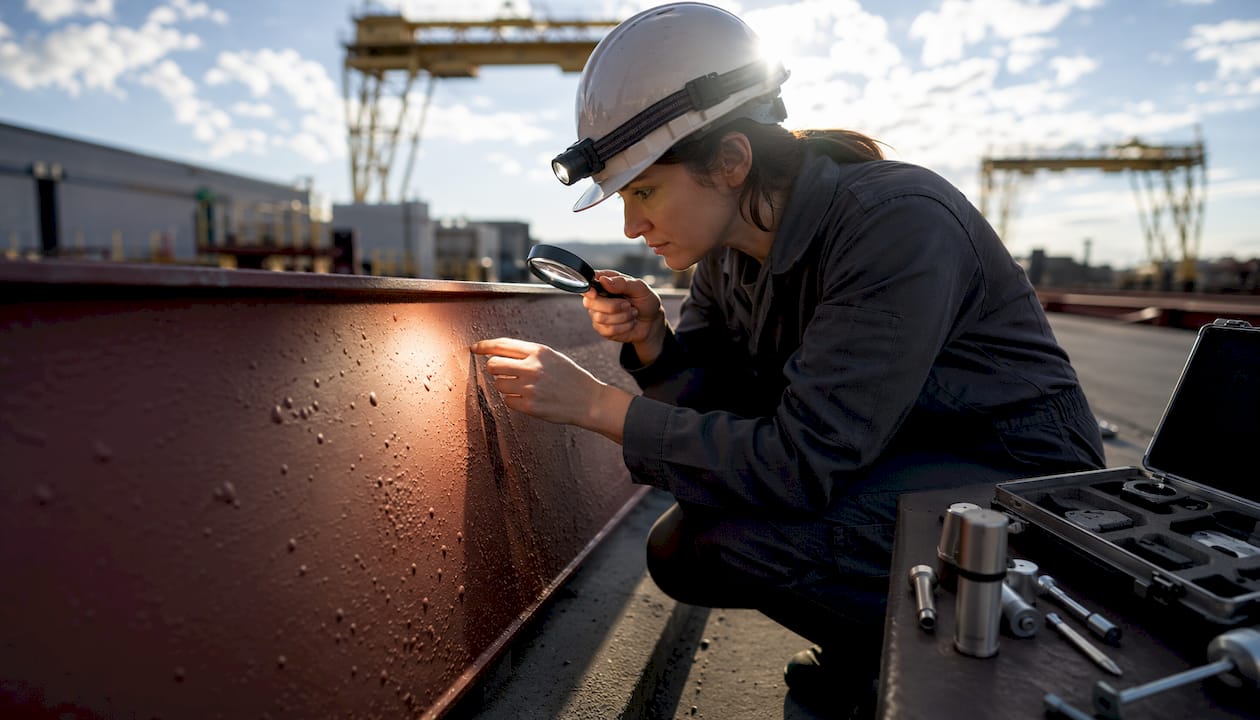
Recognizing a defect early, before it spreads, is where maintenance professionals save the most money. Each failure type has a distinct visual signature, and most also have a predictable cause chain you can trace back to the job site.
Fisheyes and pinholes
Fisheyes appear as circular depressions where the wet paint has pulled away from a contaminated spot, leaving a bare or thin area. Pinholes are tiny punctures in the cured film, typically formed when small bubbles burst during cure before the film has enough body to flow back together. Both are signs of paint adhesion issues at the micro level.
- Visual cue: Round craters or pinpoint holes, often clustered
- Common causes: Oil, silicone, or wax contamination on the substrate; solvent evaporation too fast for the film to self-heal
- Where they appear: Spray-applied topcoats over metal or previously coated surfaces
Curtains (runs and sags)
A curtain forms when too much wet paint is applied in one pass and gravity pulls it downward before it can cure. On vertical surfaces, this shows up as thick drips or a sheet-like sag running down the panel.
- Visual cue: Teardrop-shaped drips or uniform downward flow lines
- Common causes: Excessive film thickness per coat, spray gun held too close, or paint thinned beyond specification
- Where they appear: Vertical steel members, tank walls, pipe exteriors
Orange peel
Orange peel is a wavy, textured surface pattern visible on high-gloss coatings. The film applied correctly but failed to flow out flat before it began to set.
- Visual cue: Dimpled texture resembling the skin of a navel orange; visible as alternating light and dark areas on glossy surfaces
- Common causes: Spray pressure too low, incorrect atomization, paint applied in high heat or low humidity that accelerates skinning
- Where they appear: Topcoats on equipment housings, tanks, and structural steel
Alligatoring
Alligatoring is a network of cracks distributed across the surface in a symmetrical pattern that looks like reptile scales. It signals that the coating film has lost flexibility and can no longer accommodate substrate movement or thermal cycling.
- Visual cue: Interconnected cracks forming a mosaic pattern, often with raised edges
- Common causes: Applying a hard topcoat over a softer, still-flexible primer; aged alkyd coatings that have become brittle; incompatible coating systems
- Where they appear: Aged bridge structures, exterior steel exposed to wide temperature swings
Wrinkling
Wrinkling produces ridges or folds across the film surface. The outer skin of the coating cures faster than the material beneath it, and the internal movement as the lower layer cures creates the distortion.
- Visual cue: Uniform ridges or a crumpled texture across the panel
- Common causes: Applying too thick a coat in a single pass; high ambient temperatures that skin the surface prematurely; incompatible topcoat applied over an uncured primer
- Where they appear: Alkyd and oil-based coatings on horizontal surfaces or in direct sun
Peeling and delamination
Peeling is the most visible of all coating failures and the one that most directly signals a structural problem. The film separates either from the substrate (adhesion failure) or between coat layers (cohesion failure). Overcoating aged, brittle surfaces frequently triggers rapid delamination because the new coat applies physical stress to an existing film that has already lost most of its adhesive strength.
- Visual cue: Lifting edges, flaking sheets, or large areas of detached film
- Common causes: Contaminated substrate, inadequate surface profile, incompatible coating systems, or overcoating a chalked or loosely adhering existing coat
- Where they appear: Any substrate, but especially maintenance repaints on aged infrastructure
Blistering and bubbles
Blisters are raised domes in the film. They form when vapor, solvent, or moisture becomes trapped beneath the coating and pressure builds as temperature rises. Soluble salts left on the substrate are a particularly aggressive cause: they draw moisture through the film by osmosis, creating blisters that eventually rupture and expose bare metal.
- Visual cue: Dome-shaped swellings, ranging from pinhead size to several inches across
- Common causes: Moisture or solvent trapped under the film, soluble salt contamination, coating applied over a damp substrate, or excessive film thickness that traps evaporating solvent
- Where they appear: Immersion zones, below-grade structures, and any surface where moisture migration is likely
Pro Tip: During inspections, press a blister firmly with your thumb. If it pops and reveals rust or moisture, the failure has a substrate-moisture origin. If it springs back, solvent entrapment is more likely. That distinction changes the repair approach entirely.
How to fix and prevent industrial coating defects
Corrective action that only addresses the visible symptom will fail again. Every repair starts with identifying the root cause, then working back through surface preparation, coating selection, and application conditions.
Corrective actions by defect type
Fisheyes and pinholes: Sand or abrasive-blast the affected area to remove contamination. Solvent-wipe with an approved cleaner before recoating. If silicone contamination is confirmed, the entire surface may need stripping because silicone migrates and will cause recurrence.
Curtains: Allow the run to cure fully, then sand it flat. Do not try to brush out a wet sag on a vertical surface; you will spread the problem. After sanding, apply a fresh coat at the correct film thickness and spray distance.
Orange peel: Sand the surface smooth with the appropriate grit, then reapply the topcoat with corrected spray parameters. Check atomizing air pressure, fluid delivery rate, and ambient temperature before respraying.
Alligatoring: Full removal of the failed system is usually required. Partial repairs rarely hold because the underlying coating continues to move. Strip to bare metal or to a sound primer layer, verify compatibility of the new system, and recoat per specification.
Wrinkling: Allow the wrinkled coat to cure completely, then sand or blast it off. Reapply at the correct thickness, in ambient conditions that match the coating’s specification window. Never apply a fast-curing topcoat over an uncured primer.
Peeling and delamination: Assess adhesion of the remaining coating using ASTM D4541 (pull-off test) or ASTM D3359 (tape test) before deciding whether to overcoat or strip. If the existing film lifts easily at the knife blade, overcoating is high risk. Strip to a sound surface and recoat.
Blistering: Burst and remove all blisters, then test for soluble salts using a Bresle patch kit or equivalent. If salt levels exceed the coating manufacturer’s threshold, wash the surface and retest before recoating. Applying a new coat over salt-contaminated steel will produce the same blisters within weeks.
Surface preparation: the single highest-leverage step
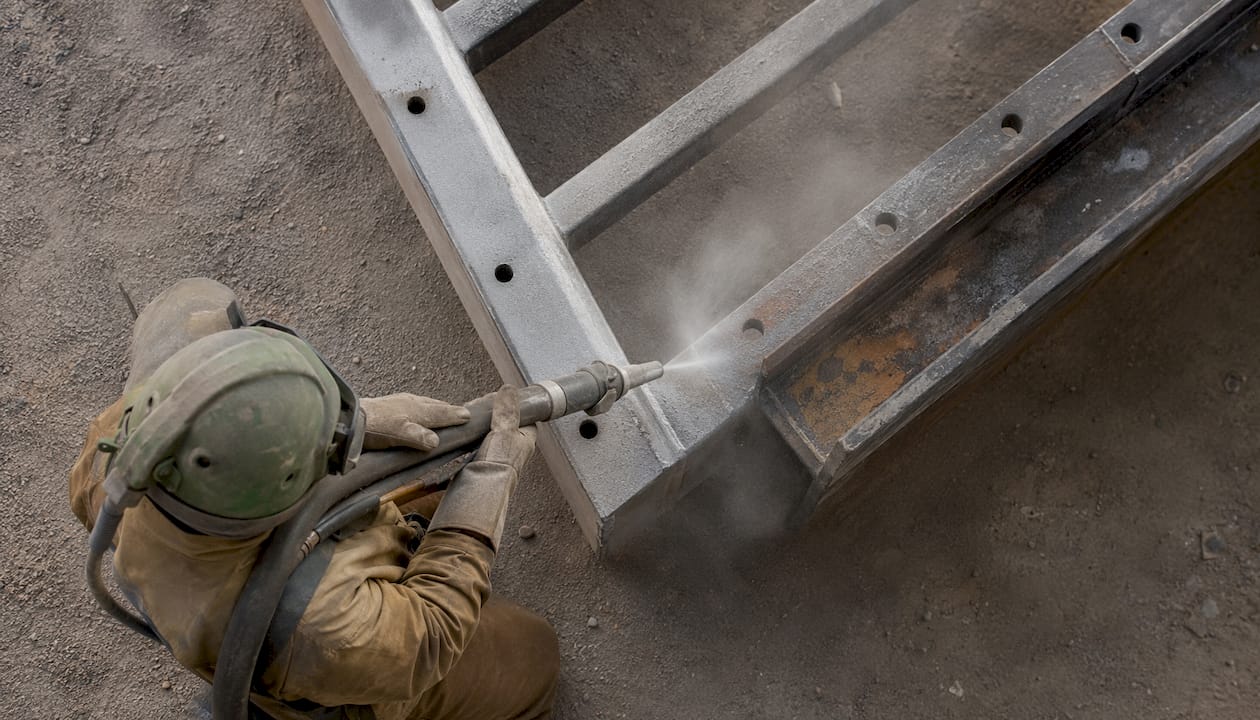
Proper surface preparation is not a preliminary step; it is the foundation the entire coating system rests on. The SSPC and NACE surface preparation standards (SP-1 through SP-10) define the cleanliness levels required for different coating systems and exposure environments. SP-1 solvent cleaning must precede every other method because abrasive blasting can drive oil and grease deeper into the steel rather than removing it.
For steel substrates in aggressive environments, abrasive blasting to SSPC SP-6 (commercial blast) is the minimum acceptable standard for most industrial coatings. High-performance epoxy and zinc-rich primer systems typically require SSPC SP-10 (near-white blast) or SP-5 (white metal blast). The anchor profile created by blasting gives the coating mechanical bite; without it, even a chemically clean surface will produce adhesion failures.
Coating selection and application controls
Matching the coating to the substrate and the service environment is as important as surface preparation. Industrial coating types vary widely in their tolerance for surface imperfections, moisture, and temperature extremes. Epoxy coatings offer excellent chemical resistance but chalk in UV exposure. Polyurethane topcoats resist UV but require a well-prepared, compatible primer. Zinc-rich primers provide galvanic protection but demand near-white blast cleanliness to function.
Environmental controls during application matter more than most applicators acknowledge. Coating over a substrate that is within 5°F of the dew point will trap moisture under the film. Most manufacturers specify a minimum 5°F margin between substrate temperature and dew point. Applying in direct sun on a hot day can cause solvent to flash off before the film levels, producing orange peel or pinholes. Humidity above the manufacturer’s limit during cure of moisture-sensitive coatings causes blushing or adhesion loss.
Pro Tip: Before any coating job, record ambient temperature, relative humidity, dew point, and substrate temperature at the start, middle, and end of the application window. That log takes five minutes and becomes your first line of defense if a failure investigation starts six months later.
What do expert diagnostics reveal about industrial paint failure causes?
Experienced coating engineers consistently find that visible defects often mask deeper problems. A blister is not just a blister; it may be evidence of trapped vapor, residual salt contamination, or an incomplete cure cycle that left the film permeable. Visible defects often mask deeper issues like trapped vapor, salt residue, or incomplete cure, and investigation must go beyond surface repair to address those fundamental problems.
Root cause analysis: the diagnostic framework
A thorough failure investigation combines three types of analysis: visual and physical examination at the site, chemical testing of the failed coating, and review of project documentation. Diagnostic tools like dry film thickness gauges, adhesion testers, and FTIR support but do not replace professional engineering judgment. The instrument tells you the film thickness; the engineer interprets whether that thickness, in that environment, on that substrate, was adequate.
The diagnostic sequence used by experienced failure analysts typically follows this order:
- Document the environment: Photograph the failure pattern, note the exposure conditions, and record any recent temperature or humidity events.
- Physical examination: Perform adhesion testing (ASTM D4541 or D3359), dry film thickness measurement, and a tap test to locate delaminated areas not yet visible.
- Chemical analysis: Use FTIR spectroscopy to identify the coating chemistry and confirm it matches the specified product. Gas chromatography can identify solvent residues in blistered areas.
- Salt testing: Use a Bresle patch or equivalent to measure soluble salt levels on the substrate or beneath the failed film.
- Documentation review: Compare the actual application conditions and surface preparation records against the project specification. Discrepancies between the two lists are where the root cause usually lives.
The shared responsibility problem
75% of coating failures result from shared responsibility among owners, engineers, specifiers, and applicators. That finding, drawn from a review of 42 industry journal articles and 41 case studies, directly challenges the assumption that the contractor is always at fault. Owners who write vague specifications, engineers who select coatings without verifying substrate compatibility, and inspectors who lack formal training all contribute to failures that get blamed on the applicator.
The most effective prevention is training across all parties, not just the crew holding the spray gun.
How modern coating requirements complicate diagnosis
Troubleshooting coating defects is increasingly complex due to faster production cycles and lower VOC requirements. Before the late 1980s, high-VOC formulations were more tolerant of marginal surface preparation because the solvent helped the coating wet and penetrate the steel. Modern low-VOC and waterborne coatings are far more sensitive to surface cleanliness, profile, and environmental conditions. A coating that performed acceptably over a lightly contaminated surface in 1985 may fail within months in its reformulated version today.
Diagnostic reference: failure modes by category
| Failure Mode | Primary Cause Category | Key Diagnostic Tool |
|---|---|---|
| Peeling / delamination | Adhesion (surface prep or compatibility) | ASTM D4541 pull-off test |
| Blistering | Substrate contamination (salts, moisture) | Bresle patch salt test |
| Alligatoring | Coating incompatibility or brittleness | Visual + adhesion test |
| Wrinkling | Application error (thickness, temperature) | Dry film thickness gauge |
| Fisheyes / pinholes | Surface contamination (oil, silicone) | Visual + solvent wipe test |
| Orange peel | Application parameters (spray settings) | Visual + gloss meter |
| Curtains / runs | Excessive film build | Wet film thickness gauge |
Defining failure correctly also matters before any investigation begins. Performance requirements and expected lifetime must be defined prior to application to classify a defect as a failure rather than normal wear. A coating that has served 14 of its 15-year warranty period and is now showing surface chalking is not a failure by contract definition. One that delaminated after 12 months on a 15-year system clearly is. That distinction shapes every decision that follows, from who bears the repair cost to what corrective specification gets written for the next cycle.
For professionals managing infrastructure assets across multiple sites, a structured inspection program using tools like surface damage assessment methods can provide a consistent framework for documenting and prioritizing coating repairs before they escalate.
Key Takeaways
The majority of industrial coating failures are preventable, and the evidence consistently points to surface preparation, environmental controls, and application discipline as the three levers that matter most.
| Point | Details |
|---|---|
| Surface prep drives most failures | 75%–80% of premature failures trace back to deficient surface preparation or application errors. |
| Early detection cuts repair costs | Regular inspection using adhesion testers and thickness gauges catches failures before they spread to adjacent areas. |
| Fix root causes, not symptoms | Recoating over blisters or peeling without addressing salt contamination or moisture will reproduce the same failure. |
| Shared responsibility prevents failures | Owners, specifiers, and applicators all contribute to outcomes; training across all parties is the most effective preventive measure. |
| Coating selection must match the environment | Modern low-VOC coatings are less tolerant of surface imperfections than older formulations, requiring stricter preparation standards. |
Why Southernsandblastingandpainting approaches coating failures differently
The conventional view in industrial coatings is that failures are primarily a contractor problem. After 20 years working on water tanks, pipelines, airports, and municipal infrastructure across Central Florida, Southernsandblastingandpainting has a different read on that.
Most of the coating failures we encounter on maintenance projects were set up to fail long before the first coat was sprayed. The specification called for a commercial blast when the exposure environment demanded near-white. The owner skipped the pre-job salt test to save time. The inspector had no formal training and signed off on a surface profile that was half what the primer required. By the time the coating starts peeling, everyone points at the applicator, but the real failure happened in the planning room.
What actually works is treating surface preparation as the non-negotiable foundation of every project, not a line item to compress when the schedule slips. Southernsandblastingandpainting’s professional sandblasting services exist specifically because proper abrasive blasting to SSPC standards is the single step that most directly determines whether a coating system reaches its design life. No primer, no matter how well formulated, compensates for a contaminated or under-profiled substrate.
The other thing that gets underestimated is documentation. Logging ambient conditions, surface profile readings, and film thickness measurements at every stage takes discipline, but it is what separates a defensible project from a dispute. When a coating shows early signs of failure on a structure we have worked on, that log is what allows us to identify the cause quickly and address it without guesswork.
Facility managers who want coatings that actually last should look hard at the application steps their contractors follow, not just the product data sheet. The chemistry matters. The execution matters more.

Southernsandblastingandpainting serves commercial, municipal, and government clients across Central Florida. For projects where coating longevity is critical, contact the team to discuss surface preparation standards, coating system selection, and inspection protocols that match your asset’s service environment.


