
ASME A13.1 is the U.S. standard for pipe color coding, and it works in tandem with ANSI Z535.1 safety-color specifications. Together, they define exactly which background-and-legend color pairs to use, how large the markers must be, where to place them, and what to do with abandoned lines. OSHA workplace regulations add a safety compliance layer but do not replace A13.1 as your identification scheme.
To act on this now, your facility needs to:
- Confirm you have a documented pipe identification scheme aligned to A13.1
- Apply the correct color-plus-legend pairs (color alone is never sufficient)
- Verify marker size and placement near valves, flanges, and direction changes
- Schedule a formal audit and, where surface prep or height access is involved, engage a qualified contractor
The A13.1-2023 revision updated the color designation tables, expanded placement guidance, and added GHS pictogram guidance. If your facility last reviewed its scheme before 2023, it is worth a fresh look.
Key Takeaways
ASME A13.1, paired with ANSI Z535.1 color tolerances, is the complete U.S. framework for pipe color identification — and compliance depends on getting both the color and the legend right, every time.
| Point | Details |
|---|---|
| A13.1 + Z535.1 are the references | Use ASME A13.1 for the scheme and ANSI Z535.1 for safety-color pigment tolerances. |
| Color plus legend, always | Color alone is never compliant; every marker must carry a readable legend identifying pipe contents. |
| Size and placement are numeric | Letter height and marker length scale with pipe diameter; place markers at every valve, flange, and penetration. |
| Special systems need supplements | Ammonia refrigeration requires IIAR Bulletin 114 multi-band markers in addition to A13.1 color pairs. |
| Southernsandblastingandpainting | Provides surface prep, compliant painted markings, and QA documentation for A13.1 implementation projects. |
Table of Contents
- What does ANSI pipe color coding actually require under A13.1?
- The A13.1 color-code chart: standard pairs and user-defined options
- Label format, sizing, and placement requirements
- Special systems and exceptions: where A13.1 needs a supplement
- How to implement a compliant pipe-marking program
- Common compliance mistakes and a 15-minute audit checklist
- What contractors see in the field that the standard doesn’t tell you
- Southernsandblastingandpainting handles the prep and marking work your team shouldn’t do alone
- Sources
What does ANSI pipe color coding actually require under A13.1?
ASME A13.1 covers aboveground piping in industrial, commercial, institutional, distribution, and public-assembly buildings. Electrical conduit is explicitly excluded. Every other pipe carrying a fluid — liquid or gas — falls within scope.
The standard’s core purpose is emergency response speed. Before A13.1 gained wide adoption, facility-specific color schemes created real confusion: a responder entering an unfamiliar plant had no reliable way to identify a high-hazard line without asking someone or guessing. A13.1 solves that by giving personnel and external responders a common visual language.
Where OSHA regulation 1910.261 and similar workplace rules address piping hazards in specific operations, they set a safety floor, not an identification scheme. A13.1 is the scheme. ANSI Z535.1 supplies the color tolerances A13.1 references whenever it calls for a “Safety” color, covering both hue accuracy and contrast requirements for legibility.
The A13.1 color-code chart: standard pairs and user-defined options
A13.1 specifies six standard color combinations and permits four user-defined combinations, for a total of ten. Color must always appear with a legend — relying on color alone is a compliance failure.
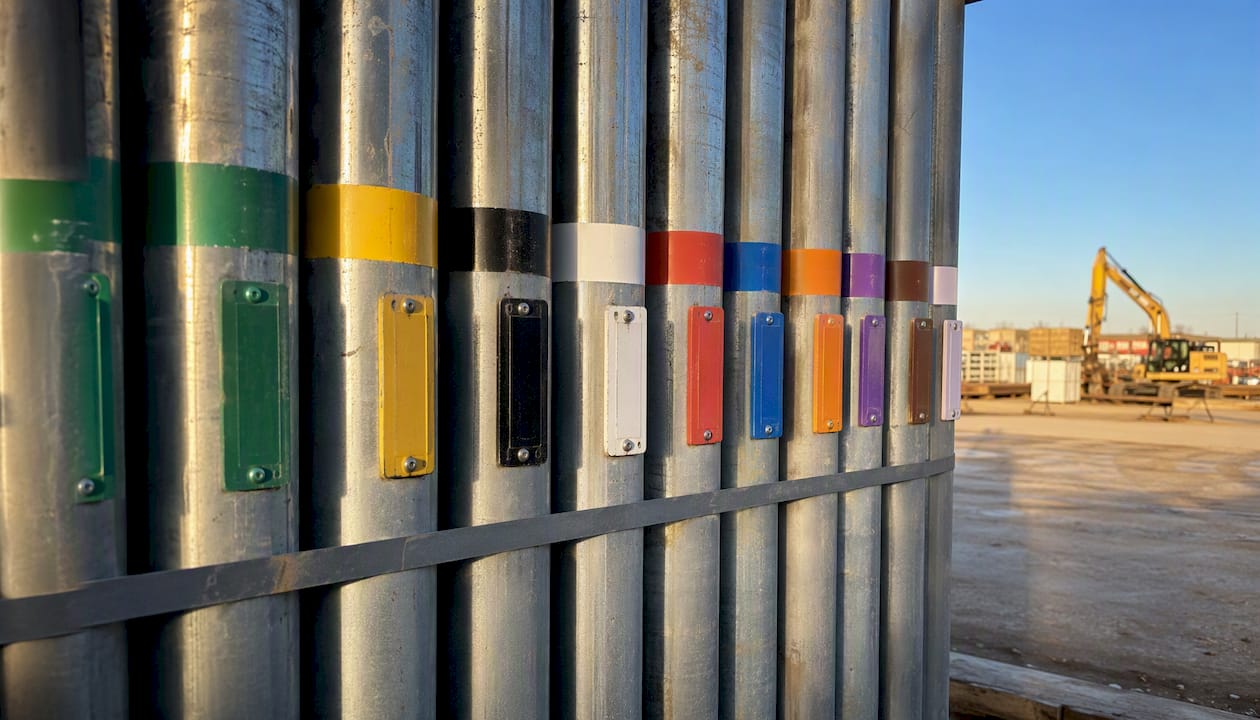
| Pipe Contents Category | Background Color | Legend/Text Color | Common Examples |
|---|---|---|---|
| Fire-quenching fluids | Safety red | White | Fire suppression water, CO₂ |
| Flammable or oxidizing fluids | Safety yellow | Black | Gasoline, propane, oxygen |
| Toxic or corrosive fluids | Safety orange | Black | Acids, caustics, chlorine |
| Compressed air | Safety blue | White | Plant air, instrument air |
| Potable, cooling, boiler feed water | Safety green | White | Potable water, chilled water |
| Steam and steam condensate | Safety yellow | Black | Steam, condensate return |
| User-defined | Purple | White or black | Facility-specific fluids |
| User-defined | White | Black | Facility-specific fluids |
| User-defined | Brown | White | Facility-specific fluids |
| User-defined | Black | White | Facility-specific fluids |
When A13.1 calls for a “Safety” color, those pigments must meet ANSI Z535.1 tolerances. That is not a suggestion — it is how the two standards connect. Ordering markers or paint to Z535.1-compliant pigment specs keeps your colors within the defined hue range and maintains the contrast ratios that make legends readable from a distance.
Pro Tip: When specifying paint or adhesive markers for a facility, ask your supplier to confirm Z535.1 color compliance in writing. A marker that looks close enough in a catalog photo may drift outside tolerance under UV exposure within a year.
Label format, sizing, and placement requirements
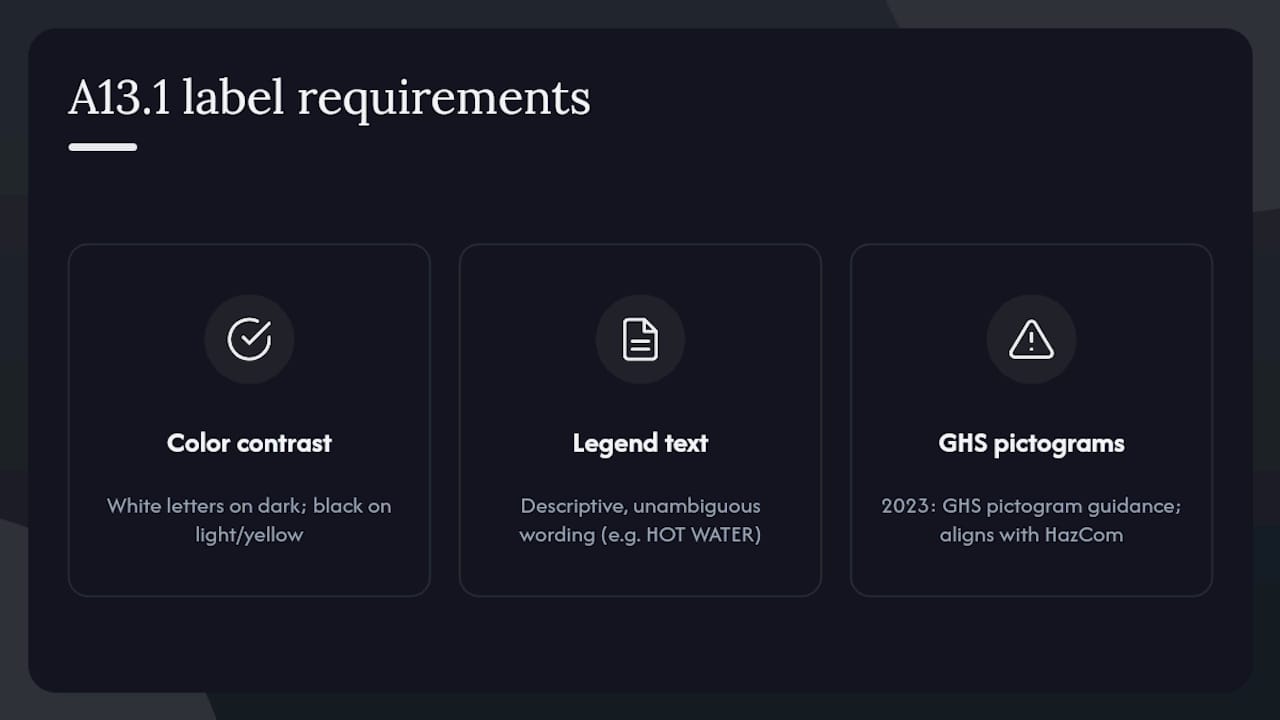
A13.1 sets concrete requirements for how markers are formatted and where they go. The legend text must contrast with the background: white lettering on dark backgrounds, black lettering on light or yellow backgrounds. Recommended wording is descriptive and unambiguous — “HOT WATER,” “PROPANE,” “COMPRESSED AIR.” The 2023 revision added GHS pictogram guidance for pipes carrying hazardous chemicals, which aligns with HazCom labeling practice.
Marker sizing by pipe diameter
Marker width and letter height scale with pipe outside diameter. Industry guidance provides reference dimensions that increase with larger diameters to ensure legibility and compliance.
Placement rules are equally specific:
- Mark near every valve, fitting, and flange where practical
- Mark at every wall, floor, or ceiling penetration (on both sides)
- Mark at intervals sufficient for identification along long runs — typically every 25–50 feet in open areas
- Use circumferential (wrap-around) markers on small-diameter pipe where a flat label would not be fully visible
- Abandoned piping: mark with safety white background and black letters reading “ABANDONED”
OSHA’s workplace regulations reinforce the need for clear hazard identification at points of operation. Pairing A13.1 placement rules with your lockout/tagout program keeps both compliance tracks aligned.
Special systems and exceptions: where A13.1 needs a supplement
A13.1 covers most piping categories, but several systems carry additional or overlapping guidance worth knowing.
Ammonia refrigeration is the clearest case. IIAR Bulletin 114 recommends safety orange backgrounds with black letters for anhydrous ammonia piping and prescribes multi-band markers that indicate both the physical state (liquid or vapor) and pressure level. This layered approach aligns with A13.1’s framework while adding the domain-specific detail that refrigeration operations require. Facilities running ammonia systems should implement both.
- Steam and condensate: Both fall under the flammable/hot-fluid yellow category in A13.1, but distinguishing “STEAM” from “STEAM CONDENSATE” in the legend prevents valve errors during maintenance. Use specific wording, not just color.
- Buried or concealed piping: A13.1 does not govern underground lines directly. Document buried piping in as-built drawings and use above-grade markers at access points, risers, and valve boxes.
- Marine and HVAC systems: A13.1 applies to HVAC piping in buildings. Marine installations follow separate standards. For HVAC, the standard color pairs apply, but facilities often use the user-defined colors (white, brown, black, purple) for refrigerant lines — document the scheme and train personnel.
A13.1 explicitly allows a facility to develop its own documented color scheme for user-defined categories, provided the scheme is written down and all personnel are trained on it. That flexibility is useful for complex plants with unusual process fluids, but it is not a license to deviate from the six standard color pairs for the categories they cover.
How to implement a compliant pipe-marking program
A structured approach keeps the project manageable and produces a defensible record.
- Inventory and map all piping. Walk the facility and document every line: contents, diameter, routing, and current marking status. Photograph existing markers.
- Compare current scheme to A13.1. Flag every line where color, legend, size, or placement falls short. Prioritize high-hazard lines (toxic, flammable, high-pressure steam).
- Select compliant materials. Choose adhesive markers or paint systems with Z535.1-compliant pigments. For outdoor or high-temperature lines, specify UV-resistant substrates and coatings rated for the operating temperature range. Protective coatings for pipelines affect marker adhesion — match the coating system to the marker adhesive.
- Prepare surfaces. Clean pipe surfaces of rust, grease, and loose paint before applying markers or repainting. For corroded or heavily contaminated pipe, abrasive blasting to the appropriate surface profile is the right call. Proper pipe sandblasting workflow ensures adhesive markers bond correctly and painted legends hold long-term.
- Install markers and paint. Apply markers per the sizing table above. For painted legends, use stencils or templates for consistent letter height and spacing.
- Verify legibility and spacing. Walk the system again. Confirm every valve, flange, and penetration is marked, flow arrows point the right direction, and letter heights meet the standard for the pipe diameter.
- Schedule periodic inspections. Build pipe-marking checks into your preventive maintenance calendar. Markers degrade from UV, chemical exposure, and mechanical abrasion. Repainting pipelines on a documented cycle keeps the program current.
When to hire a contractor: High-access work (overhead piping, elevated structures), confined-space entry, abrasive surface prep, and any project requiring documented QA/QC and photographic records all benefit from a qualified industrial contractor. Trying to sandblast and repaint a 40-foot overhead pipe run in-house introduces safety and quality risks that outweigh the cost savings.
Pro Tip: Tie pipe-marking updates to your lockout/tagout procedure reviews. When a line’s contents change or a valve is relocated, both the LOTO procedure and the pipe marker need updating at the same time — not separately.
Common compliance mistakes and a 15-minute audit checklist
The most frequent A13.1 failures are not exotic. They are the same handful of errors repeated across facilities.
- Color without a legend. A yellow pipe with no text tells a responder almost nothing. Color is a secondary identifier; the legend is primary.
- Wrong text contrast. Black text on safety orange reads well. Black text on safety red does not. Check every marker against the standard’s contrast requirements.
- Inconsistent user-defined colors. If purple means “glycol” in Building A and “nitrogen” in Building B, your documented scheme is broken. One fluid, one color, facility-wide.
- Markers too small or out of sight. A 0.5-inch letter height on a 6-inch pipe is non-compliant and unreadable from a normal working distance.
- No abandoned-pipe marking. Unmarked dead legs create confusion during emergencies and maintenance.
15-minute compliance walkthrough
- Pick five random markers across different systems and verify background color, legend text, and contrast against the A13.1 table.
- Confirm flow arrows are present and pointing the correct direction on at least three lines.
- Measure letter height on two markers and compare to the sizing table for that pipe diameter.
- Inspect two markers for weathering, peeling, or fading — if you can’t read the legend from arm’s length, it needs replacement.
- Confirm your written pipe identification scheme document exists and that at least one person on shift can locate it.
If step 5 fails, that is your first fix. A scheme that exists only in someone’s memory is not a scheme.
What contractors see in the field that the standard doesn’t tell you
The standard describes what compliant pipe marking looks like. It does not describe what it takes to get there in a live facility.
Scheduling is the first real constraint. Marking a pressurized line or a valve that feeds active production requires coordination with operations — sometimes a planned shutdown window, sometimes a partial isolation. Trying to rush that coordination to hit a project deadline is how markers end up installed on lines that weren’t properly identified because the right person wasn’t in the room.
Surface condition matters more than most facility teams expect. A marker applied over a chalky, oxidized coating will peel within months regardless of adhesive quality. The surface preparation steps before marker installation are not optional — they determine whether the marker is still readable in three years. For painted legends, the coating system underneath has to be compatible with the topcoat carrying the legend color. Mismatched systems delaminate.
Photographic QA records are worth the time. A timestamped photo of every marked section, cross-referenced to the pipe map, gives you a defensible compliance record for audits and insurance purposes. It also makes the next inspection cycle faster — you can compare current condition to the baseline photo without re-walking the entire system from scratch.
Southernsandblastingandpainting handles the prep and marking work your team shouldn’t do alone
Getting pipe marking right from the surface up is exactly what Southernsandblastingandpainting does. With 20-plus years of industrial surface preparation and coating work across Central Florida, the team handles abrasive blasting to the correct surface profile, application of A13.1-compliant painted legends and template-based markings, and full QA/QC documentation on every project. That means facility managers get a compliance record, not just a painted pipe.

For high-access piping, confined-space work, or any project where surface condition is the reason previous markers failed, the right move is a professional assessment before you order materials. Southernsandblastingandpainting’s sandblasting and painting services cover the full sequence: prep, prime, coat, mark, and document. Request an audit or project quote directly through the services page.
Sources
The sources below are the primary references for U.S. pipe color coding compliance. Consult each for the specific detail it owns.
- Scheme for the Identification of Piping Systems — ASME A13.1 (2023)
- Identification of Piping Systems Through ASME A13.1-2023 – The ANSI Blog
- OSHA regulation 1910.261 (machine shop operations) — example workplace regulation
- Guidelines for Identification of Ammonia Refrigeration Piping and System Components — IIAR Bulletin 114
- ANSI (American National Standards Institute) official site


