

OSHA’s floor marking rule is short and often misread: 29 CFR 1910.176(a) requires that “permanent aisles and passageways” in workplaces using mechanical handling equipment be “appropriately marked.” That’s it. The standard is performance-based. It doesn’t name a color, a width, or a material. The only binding color assignments in the entire floor marking conversation come from 29 CFR 1910.144, which locks in red for fire and emergency equipment and yellow for physical hazards like stumbling, tripping, and falling. Everything else, tape versus paint, 2 inches versus 4, is a facility decision OSHA leaves to you.
That gap is exactly where compliance risk hides.
- Use lines or markings at least two inches wide in aisles and walkways, the width OSHA guidance has treated as effective since 1972.
- Reserve red and yellow for their OSHA-assigned meanings; use other colors for wayfinding consistency, not hazard signaling.
- Choose materials rated for your traffic level, and log inspections so you can show a documented maintenance history if OSHA ever asks.
Key Takeaways
OSHA floor marking compliance rests on two thin regulations, so durability and clear color logic matter more than chasing a spec that doesn’t exist.
| Point | Details |
|---|---|
| Know the actual rule | 1910.176(a) requires marked aisles; 1910.144 only binds red and yellow, nothing else. |
| Use the 2 inch standard | Lines at least 2 inches wide meet OSHA’s long-standing practical guidance for visibility. |
| Adopt ANSI Z535 colors | OSHA recognizes current ANSI consensus standards as equal or greater protection. |
| Prioritize surface prep | Profiling and degreasing determine marking lifespan more than the material chosen. |
| Bring in contractor-grade prep | Southern Sandblasting & Painting handles blasting and profiling so markings bond and last. |
Table of Contents
- OSHA Floor Marking Requirements and How Inspectors Apply Them
- OSHA Floor Marking Colors and When ANSI Fills the Gap
- Where to Mark Floors and What Dimensions to Use
- Materials and Application: Tape, Paint, Epoxy, and Photoluminescent Options
- Inspection and Maintenance Schedules That Hold Up
- A Contractor’s Checklist for Durable Floor Marking
- Why Compliance Guides Undersell the Maintenance Half
- Get Floor Marking That Actually Survives Your Traffic
- Where to Read the Actual OSHA Standards
- Sources
OSHA Floor Marking Requirements and How Inspectors Apply Them
The regulatory language behind OSHA floor marking is deliberately loose. Section 1910.176(a) tells you aisles and passageways need to be marked “appropriately” wherever mechanical handling equipment operates, but it never defines appropriate. That vagueness is intentional. OSHA writes performance standards for situations that vary too much for one-size-fits-all specs, a food warehouse and a foundry don’t need identical marking systems to be safe.
Section 1910.144 is narrower and more concrete. It assigns red and yellow to specific hazard categories and stops there. It says nothing about aisle boundaries, forklift lanes, or dock markings, which is why most of what you see in warehouse floor marking guides is best practice layered on top of a thin regulatory floor.
OSHA has stated it will reference older ANSI standards and permits employers to follow current ANSI consensus standards when those provide equal or greater protection, though adopting a brand-new ANSI standard as binding law requires formal rulemaking, not just an interpretation letter.
In practice, inspectors rarely cite floor marking on its own. It usually surfaces during a broader housekeeping or materials-handling review, where a faded aisle line becomes evidence supporting a separate citation for blocked egress or an unsafe forklift lane. Fix the underlying housekeeping problem and the marking issue usually resolves with it.
- Cite 1910.176(a) as your baseline obligation for aisle marking.
- Treat 1910.144 as your only binding color rule.
- Expect enforcement to arrive through housekeeping or egress findings, not standalone marking sweeps.
OSHA Floor Marking Colors and When ANSI Fills the Gap
Red and yellow are the only colors OSHA actually mandates, and they’re mandated for specific purposes: red for fire equipment and emergency-related identification, yellow for physical hazards under OSHA color requirements 1910.144. Beyond those two, you’re free to build your own system, but building it from scratch is a mistake most facilities regret.
ANSI Z535 has become the de facto standard because it gives you a color vocabulary that means the same thing at every site, for every contractor, and for every new hire who’s worked at a different facility before yours. OSHA’s own interpretation letters confirm it will reference ANSI conventions and treat compliance with current ANSI standards as providing equal or greater protection, even where the federal regulation text hasn’t caught up. That’s about as close to an endorsement as OSHA gives without rulemaking.
A practical color scheme most safety managers land on:
- Red: fire equipment, emergency shutoffs, emergency exits.
- Yellow: physical hazard boundaries, forklift lanes, low clearance zones.
- White or black: general aisle boundaries and storage limits.
- Green: first-aid stations and safety equipment locations.
Pro Tip: Pull your ANSI-based color key into new-employee onboarding, not just the safety manual. Most floor marking failures aren’t paint failures. They’re people walking past a line that never meant anything to them. For pipe systems running through the same facility, the same ANSI color logic applies and keeps your visual language consistent floor to ceiling.
Where to Mark Floors and What Dimensions to Use
OSHA expects marking wherever mechanical equipment and foot traffic cross paths, and the practical list is longer than most facilities plan for on day one.
- Permanent aisles and passageways used by forklifts, pallet jacks, or other mechanical handling equipment.
- Pedestrian walkways that run alongside or intersect vehicle lanes.
- Forklift intersections and blind corners where visibility is limited.
- Loading docks, including staging zones and door swing clearances.
- Pits, floor openings, and equipment parking zones that pose fall or collision risk.
On dimensions, the 2 inch minimum line width shows up repeatedly in OSHA’s own 1972 interpretation letter and in current industry guidance, and it’s a reasonable floor to build from. Aisle clearance should exceed the width of your largest piece of mobile equipment, with 4 feet as a common practical minimum in tight facilities. Egress paths may carry additional requirements from building codes like the IBC or NFPA 101, sometimes including photoluminescent markings that OSHA doesn’t independently mandate but your local code inspector will.
When floors are too rough, dusty, or damaged for paint or tape to hold, physical markers, cones, flags, or marked pillars, are an accepted substitute as long as employees are trained to recognize them the same way they’d recognize a painted line.
Materials and Application: Tape, Paint, Epoxy, and Photoluminescent Options
Picking a material comes down to traffic volume, floor condition, and how much downtime you can absorb during installation.
- Floor tape installs fast and costs the least upfront, but it peels under forklift traffic and heavy wash-down cycles within months, not years.
- Paint is cost-effective and holds up well when the substrate is properly prepped, though it wears faster than epoxy in high-friction zones.
- Epoxy coatings are the most durable option for warehouse floor marking in heavy-wear areas, but they require contractor-grade surface preparation and equipment to install correctly.
- Photoluminescent products address egress requirements under some building codes, functioning less as a hazard marker and more as a code-driven safety feature.
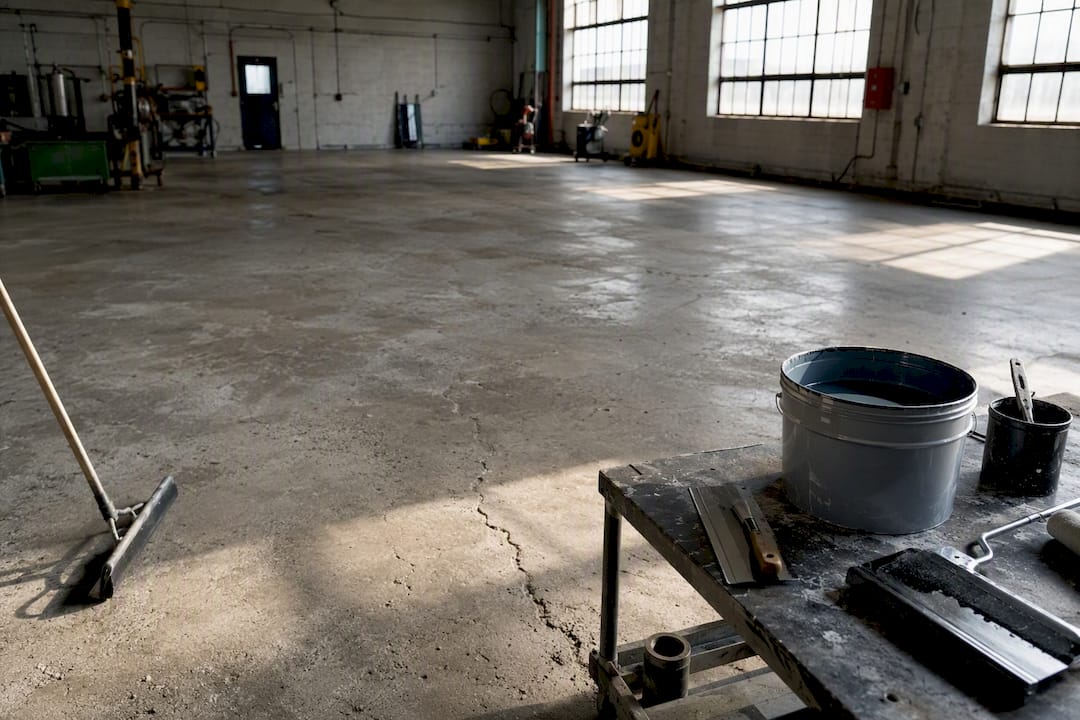
Every one of these materials fails early without proper prep. Skipping degreasing or surface profiling is the single most common reason a marking system looks perfect at installation and looks terrible six months later. If you’re weighing whether to prep in-house or bring in a contractor, our surface preparation guide walks through the profiling and priming steps that separate a marking job that lasts from one that doesn’t.
Pro Tip: For low-traffic or temporary demarcation, tape is fine. For anything a forklift crosses fifty times a day, budget for epoxy and proper prep from the start. Repainting a poorly prepped floor twice a year costs more than doing it right once.
Inspection and Maintenance Schedules That Hold Up
Floor markings degrade faster than most facilities expect, and OSHA cares less about the initial install than whether you can show ongoing attention to it.
- Run monthly visual inspections of high-traffic aisles, dock areas, and forklift lanes, checking for fading, gaps, and lifted tape edges.
- Conduct quarterly wear assessments in your heaviest traffic zones, where daily equipment crossings accelerate breakdown well beyond what a visual glance catches.
- Replace markings immediately when you spot loss of contrast, peeling or curling tape, cracked epoxy, or any surface damage that creates a trip hazard.
- Log every inspection and repair with dates and photos, folding marking upkeep into the same housekeeping and materials-handling corrective action records you already maintain.
A documented maintenance trail matters more than perfect paint. If an inspector questions a worn line, a dated repair log showing you caught and fixed it on schedule carries real weight.
A Contractor’s Checklist for Durable Floor Marking
Getting floor marking to actually last in a working warehouse comes down to sequence, not shortcuts. The workflow that holds up under repeated forklift traffic and wash-downs looks like this: survey the area and map traffic patterns, run a test patch on the actual substrate, profile the surface through shot blasting or mechanical grinding, degrease thoroughly, apply primer, then lay down a two-part epoxy or urethane marking system and verify cure and adhesion before opening the area back up.
- Remove old coatings and contaminants before anything new goes down.
- Profile the substrate so new material has something to grip.
- Schedule application in phases to avoid shutting down an entire facility at once.
- Run adhesion and cure verification tests before returning the area to service.
| Step | Why It Matters |
|---|---|
| Substrate profiling | Creates mechanical bond so epoxy or urethane doesn’t peel under forklift traffic. |
| Degreasing | Removes oils that cause premature coating failure in industrial floors. |
| Phased scheduling | Limits facility downtime while still covering all marked zones. |
| Cure verification | Confirms the coating is ready for foot and equipment traffic before reopening. |
Pro Tip: If your facility runs oily, high-abrasion operations, weigh the cost of epoxy against how often you’re currently repainting tape. Most facilities underestimate how much repeat labor eats into the “savings” of the cheaper material.
Why Compliance Guides Undersell the Maintenance Half
That’s backwards. The regulatory text itself is thin, one paragraph in 1910.176 and a color assignment in 1910.144, so the real compliance risk isn’t picking the wrong color. It’s letting a compliant marking system erode into an unrecognizable smear of paint that an inspector flags during an unrelated housekeeping walk-through.
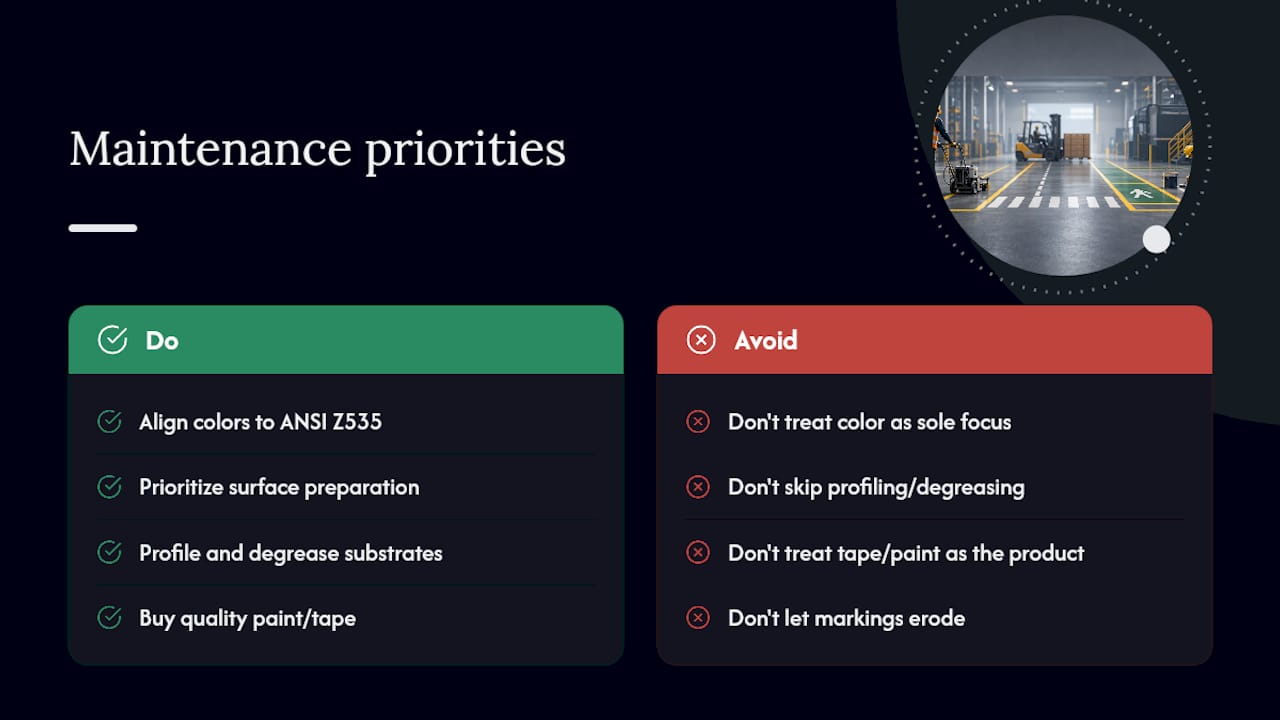
What gets underrated is surface prep. Facilities buy the better tape or the premium paint and still get six months of life out of it because nobody profiled or degreased the substrate first. The material rarely fails on its own; the surface underneath fails it.
If you manage a facility with real forklift traffic, prioritize two things before anything else: get your aisle and hazard color scheme aligned with ANSI Z535 so it means something to every worker and every contractor who walks through, and treat surface preparation as the actual product you’re buying, not an afterthought to the paint or tape. Everything else in this guide is detail work around those two decisions.
— Results
Get Floor Marking That Actually Survives Your Traffic
Most facilities lose the floor marking battle before the tape or paint ever goes down, because nobody addressed the concrete underneath it. Southern Sandblasting & Painting handles that step directly: abrasive blasting and surface profiling that strips old coatings, contaminants, and grease so new markings actually bond instead of lifting within a season.

Our crews work across water treatment plants, warehouses, airports, and municipal facilities throughout Central Florida, and the scope is usually the same: survey the traffic pattern, prep the substrate, apply a marking or coating system built for the wear level you’re actually dealing with, then verify cure before you reopen the area. That means fewer repaint cycles, less downtime per project, and a marking system that holds up to daily forklift and foot traffic instead of fading within a year. If your current floor markings are more suggestion than signal, get a project scope from our services page and find out what a properly prepped floor actually costs to maintain over time.
Where to Read the Actual OSHA Standards
For readers who want the regulatory language itself rather than a summary, these are the primary sources this guide draws from.
- 29 CFR 1910.176, the aisle and passageway marking requirement.
- 29 CFR 1910.144, the binding red and yellow safety color code.
- OSHA’s ANSI interpretation letter explaining how consensus standards fit into compliance.
- OSHA’s 1972 floor marking interpretation on acceptable widths and alternative markers.
- J. J. Keller’s practical summary of aisle marking requirements for a plain-language read of the same rules.
Sources
- 1910.176 – Handling materials—general | Occupational Safety and Health Administration
- 1910.144 – Safety color code for marking physical hazards | Occupational Safety and Health Administration
- ANSI standards regarding accident prevention signs and physical hazard marking. | Occupational Safety and Health Administration
- OSHA standard interpretation regarding floor marking methods (1972-03-21)
- How should warehouse aisles and passageways be marked? | J. J. Keller Compliance Network


